Talk to any purist collector and they'll all usually echo the same chant....that restored toys are "worthless". Well, that's all slowly changing, and with good reason. First, not everyone is a purist collector. Second, not everyone has the bucks to pay the absolutely premium prices that mint and/or mint-in-box vintage toys now bring. Third, sometimes really rare pieces are found damaged or needing repair anyway, so what's the difference between a crappy looking, repaired original and a totally restored repaired original? NADA. Finally, what do you do with all those cool, earlier toys that lack good paint and tires?
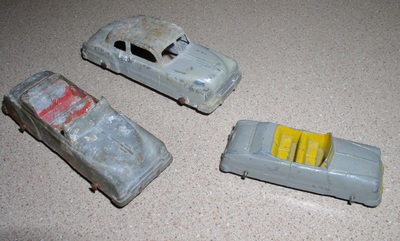
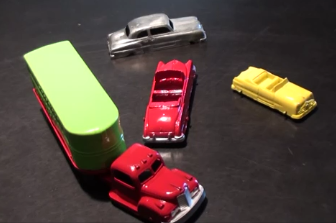
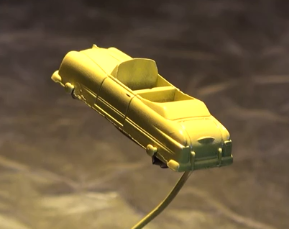
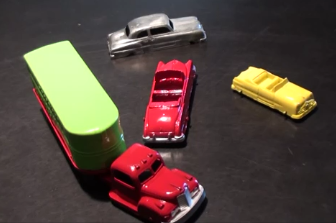
Why NOT restore them? Most of us run across early rough die cast cars frequently, and they can most likely be purchased for next to nothing because most sellers have been conditioned to believe that because restored toys are basically worthless, then toys that need restoring are worse than worthless. Well guess what...properly restored toys are now selling very well online. And its not that hard to to turn these below on the left, into those on the right. Yes, they are the same cars. The truck was restored at the same time.
Why NOT restore them? Most of us run across early rough die cast cars frequently, and they can most likely be purchased for next to nothing because most sellers have been conditioned to believe that because restored toys are basically worthless, then toys that need restoring are worse than worthless. Well guess what...properly restored toys are now selling very well online. And its not that hard to to turn these below on the left, into those on the right. Yes, they are the same cars. The truck was restored at the same time.
We've put together a little video on our YouTube Channel that follows how these were restored step-by-step, using everyday common materials (we purposely didn't get out our airbrush, but even used store bought spray paint). The video can be seen by visiting out FunOfTheHunt Youtube Page or you can just click here: Restoring Tootsietoys
We'll also provide a quick overview here for those of you who don't want to use your finger to click the link.
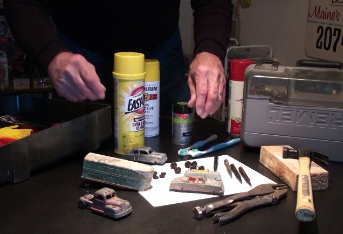
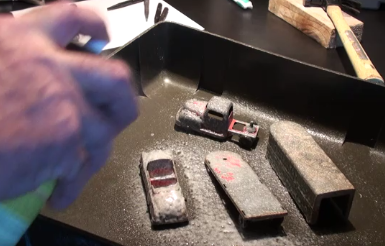
To start with, here's what you'll need to begin your restoration project. A few basic tools, a dremel tool, oven cleaner, rubber gloves, matching paints, a waterproof work box, a toothbrush, a couple coat hangers, and some 100 grit and 400 grit sandpaper. We also suggest having some correct replacement tires on hand before you begin the project (most are available online). Begin by spraying the toys thoroughly with the oven cleaner, then allow several hours for it to work (do not hurry it).
To start with, here's what you'll need to begin your restoration project. A few basic tools, a dremel tool, oven cleaner, rubber gloves, matching paints, a waterproof work box, a toothbrush, a couple coat hangers, and some 100 grit and 400 grit sandpaper. We also suggest having some correct replacement tires on hand before you begin the project (most are available online). Begin by spraying the toys thoroughly with the oven cleaner, then allow several hours for it to work (do not hurry it).
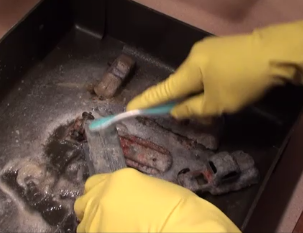
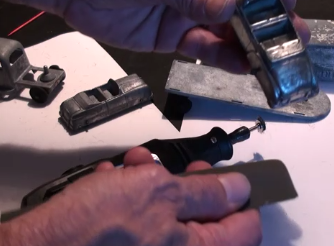
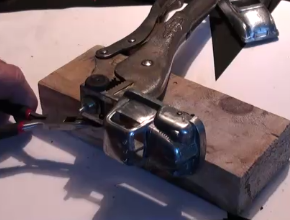
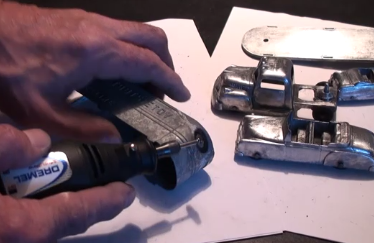
Once the oven cleaner has properly loosened the paint (several hours), put on the gloves and use the toothbrush to scrub the toys thoroughly, then rinse them under running water. Allow them to dry overnight. Using a wire brush attachment on the Dremel Tool, carefully remove remaining paint and surface oxidation. Perform any repairs that are needed, and replace any tires that needed replacement.
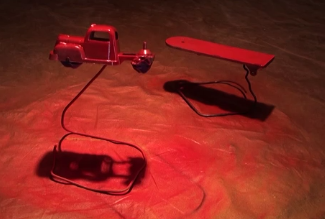
Carefully sand areas with corrosion and/or high spots with the 400 grit sandpaper. Really rough spots may require the 100 grit to begin with. Mask out the tires with masking tape, and bend up a couple pieces of a coat hanger to provide a painting stand for the toys. Begin painting with a very light coat (not even enough to fully color it - this is a "base coat"), then allow 10 - 15 minutes to set up before applying another very light coat. Again, wait another 10 - 15 minutes, then lightly apply the final coat using just enough paint to look "wet".
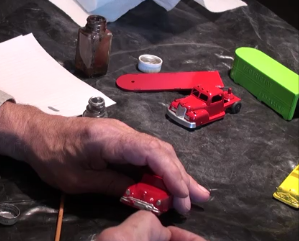
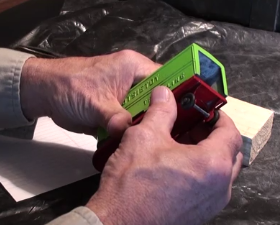
Allow the paint to dry overnight. Larger Tootsietoys (4" and up) had silver painted grills and bumpers. We use silver model paint and a brush to complete the detail on these toys. Remove the masking tape, and the Tootsietoy is ready for display. Enjoy your restoration!
To view this whole process from start to finish, including an unexpected repair, visit out YouTube channel: CLICK HERE
Happy Hunting!
Stu
Happy Hunting!
Stu

 RSS Feed