It seems like it's all too often we find these 3 3/4" GI Joe Figures in pieces, but did you know a five minute repair is not only easy...it's cheap, costing only the price of an "O" ring? This not only brings new life and value to broken figures, but can also be used to "firm up" loose figures, and will work on almost any of this size figure in addition to the Hasbro GI Joe line.
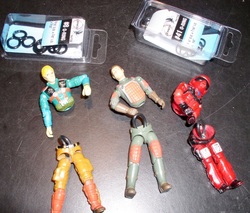
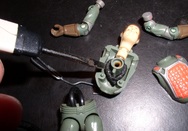
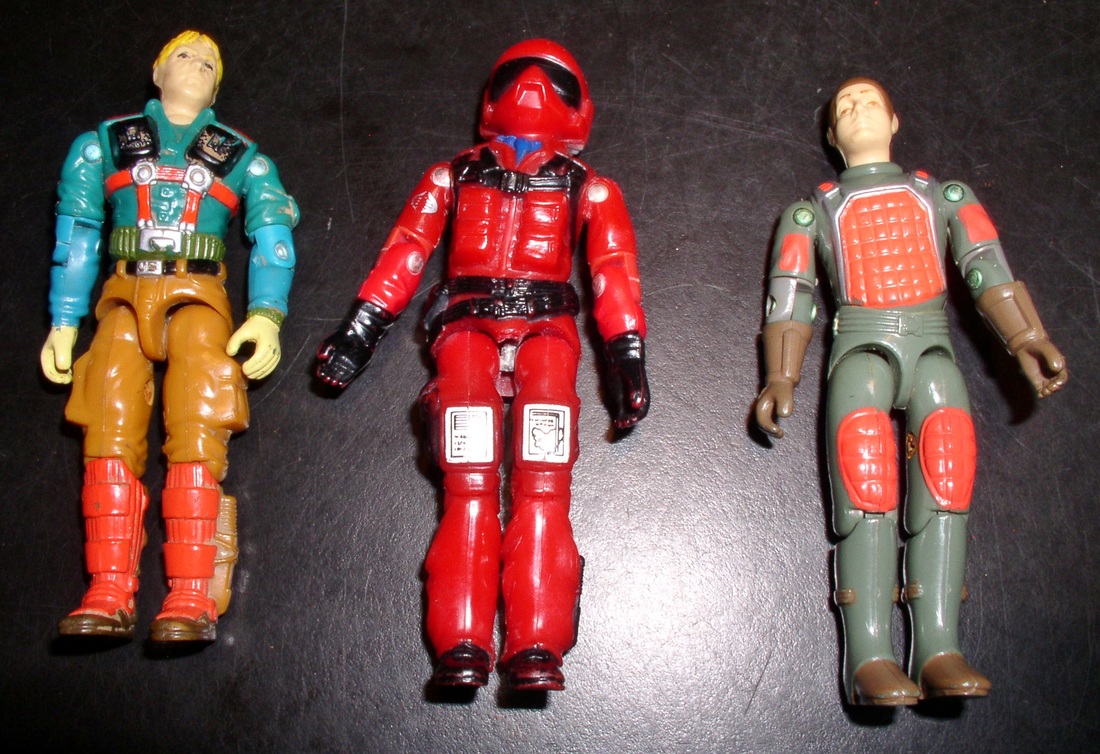
What causes these to go bad? Age. They are held together by one rubber "O" ring that is likely now 30+ years old and brittle. On the left you will see three vintage Joe figures we picked up with a small collection last weekend. The owner had attempted to repair them with the wrong size "O" rings but evidently couldn't figure out how to attach them to the upper body. Notice the size difference between the ones I use in the boxes and the ones he had inserted into the lower body sections.
What causes these to go bad? Age. They are held together by one rubber "O" ring that is likely now 30+ years old and brittle. On the left you will see three vintage Joe figures we picked up with a small collection last weekend. The owner had attempted to repair them with the wrong size "O" rings but evidently couldn't figure out how to attach them to the upper body. Notice the size difference between the ones I use in the boxes and the ones he had inserted into the lower body sections.
There are several sizes that will work, but I have had the best luck with "O" Rings having a 9/16" Outside Diameter (O.D.) and either a 3/8" or 7/16" Inside Diameter (I.D.), and a thickness of either 3/32" or 1/16". Remember that once the figures are reassembled with a new ring, nothing shows...so as long as they hold the figure together properly they'll work just fine. The ones shown here are Danco #8 and a Danco #41, and were purchased at a Home Depot store. You will also need a small Phillips Screwdriver, and a Paper Clip.
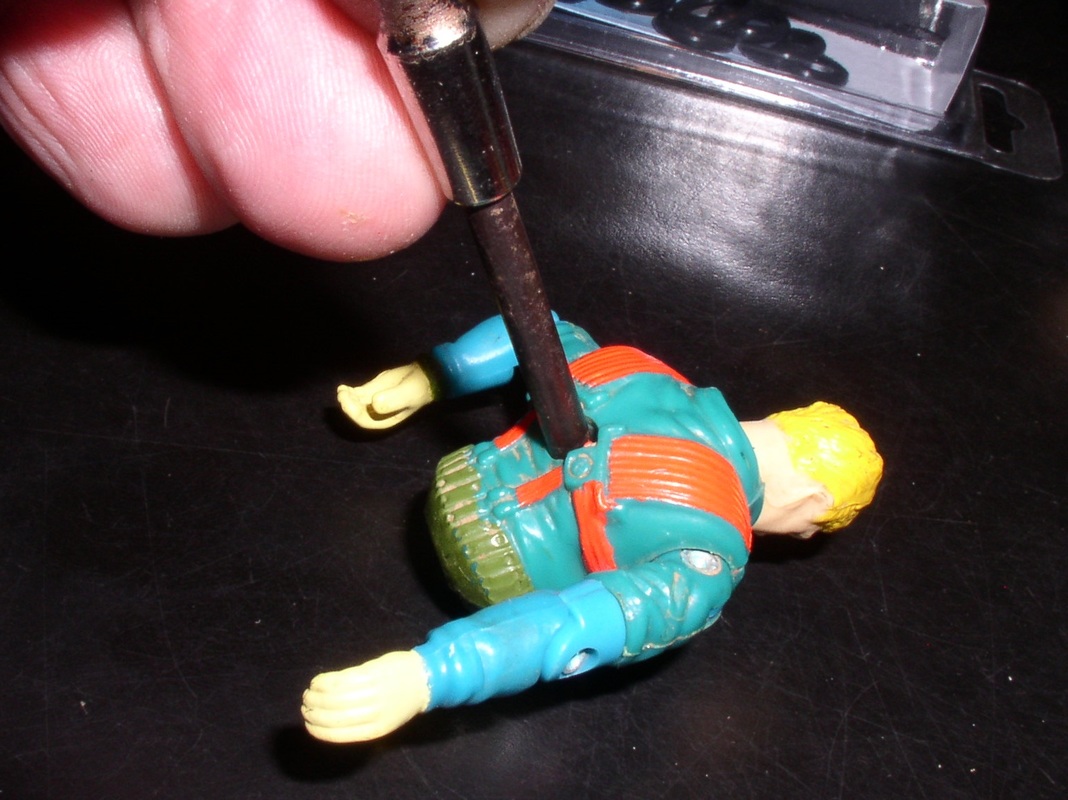
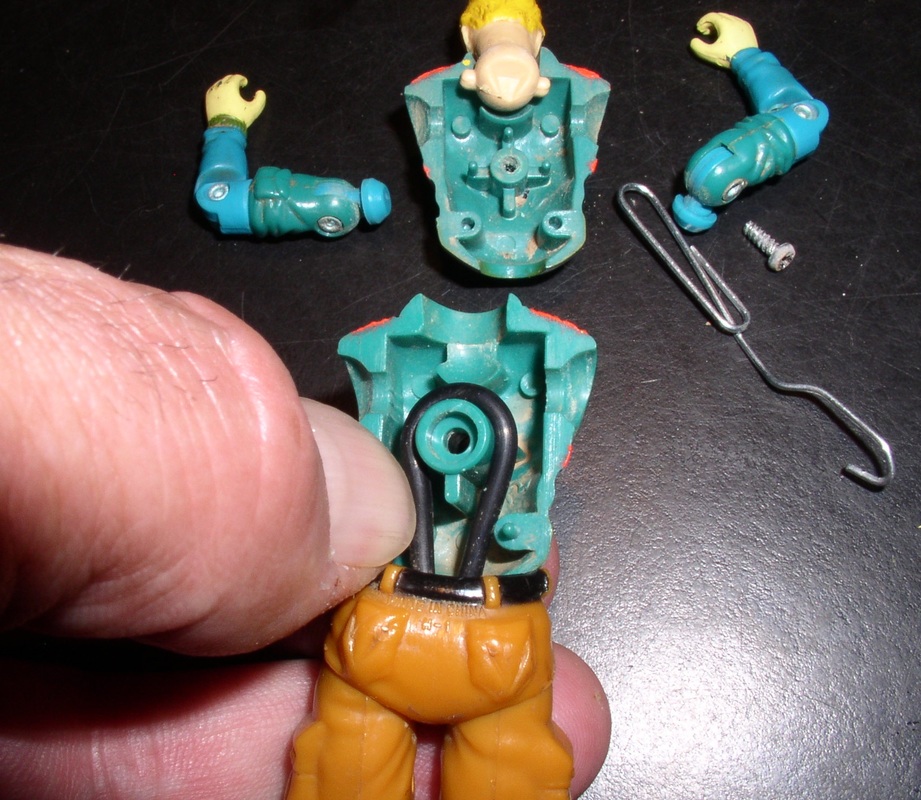
The first step will be to unscrew the Phillips Head screw located in the hole on the backside of the body. The upper body section will then fall into 5 separate pieces.
The first step will be to unscrew the Phillips Head screw located in the hole on the backside of the body. The upper body section will then fall into 5 separate pieces.
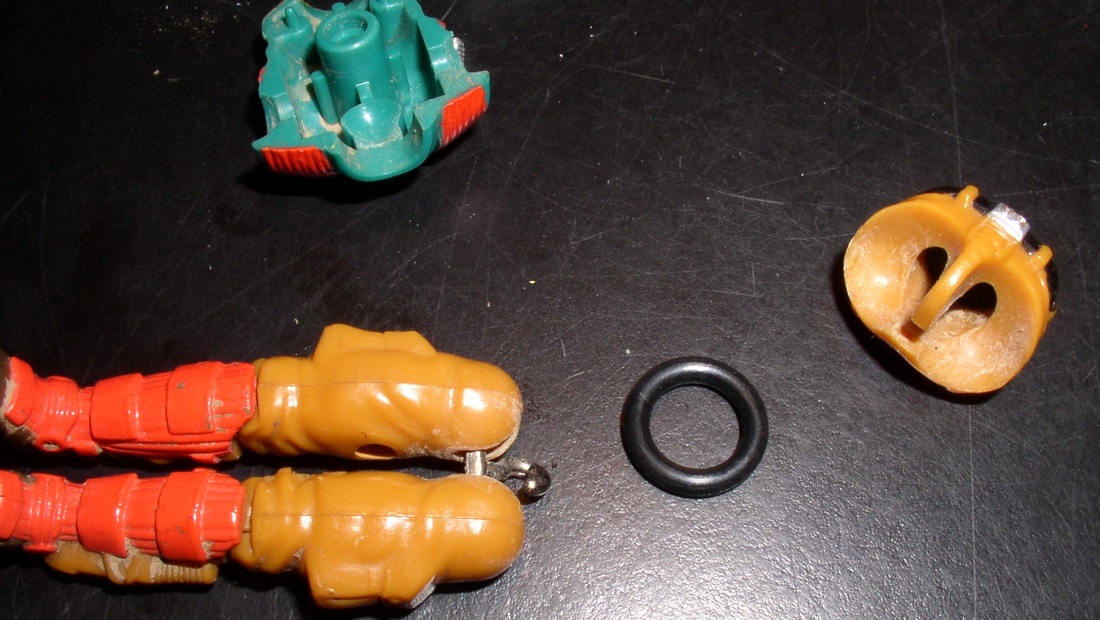
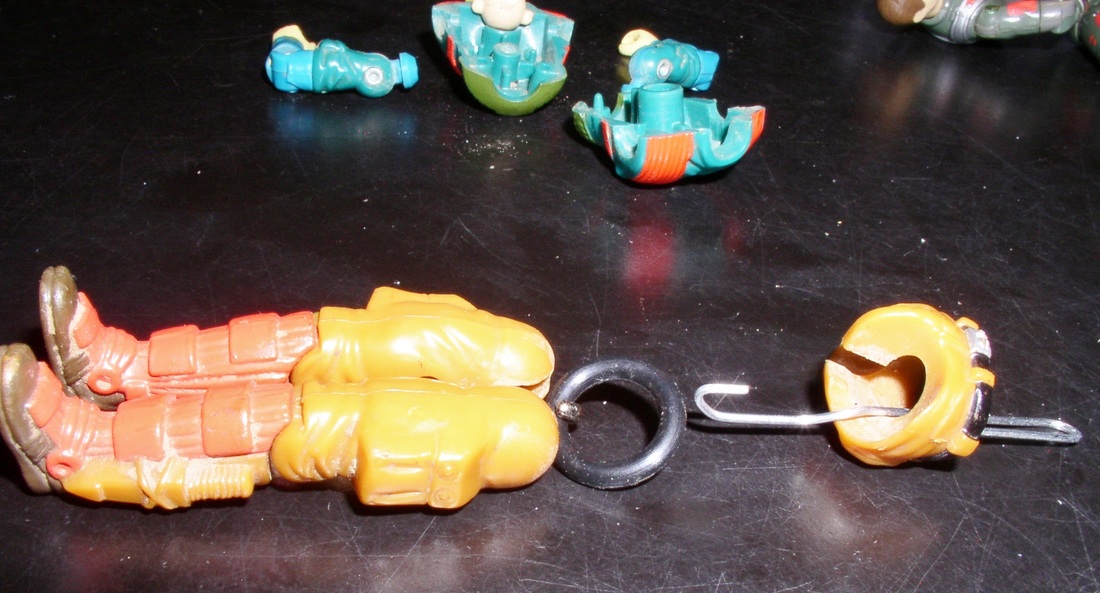
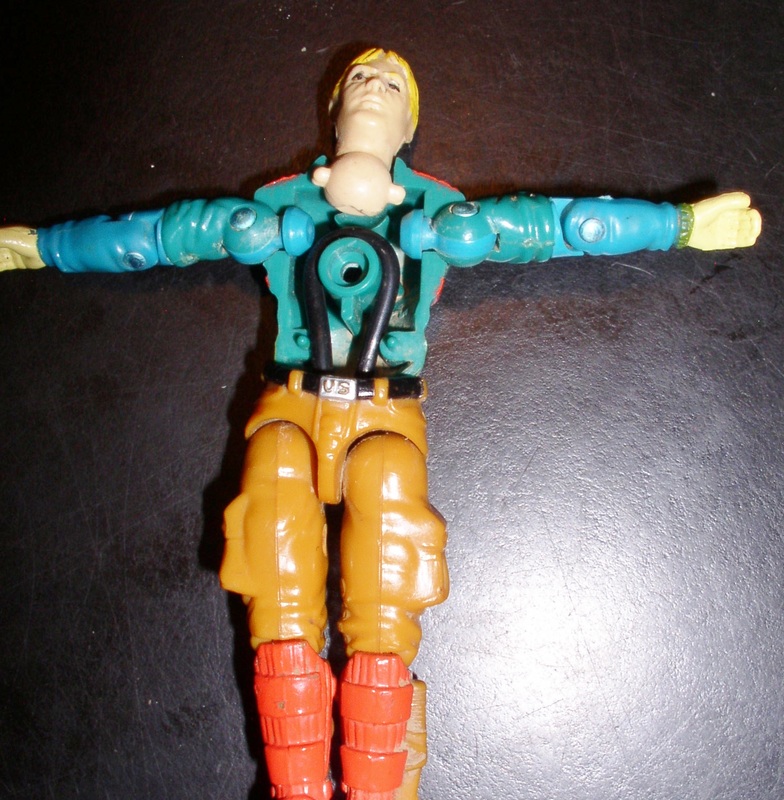
The bottom body section consists of two leg sections held together with a metal hook piece, and the butt section. Slide the correct size "O" Ring onto the body section metal hook, then bend the paper Clip until you get a small hook on one end and feed it through the butt section and pull the "O" ring up through. The back portion of the main body has a post that the "O" ring mounts onto, and you may need to remove any old pieces of the original "O" ring that may be stuck there (see picture on the right). The new "O" Ring can then be pulled up and slid around and over the post. If you move the ring all the way to the rear with a small screwdriver, the body section should stay in place with the bottom body section. Next lay out the arms and head in "spread eagle" fashion.

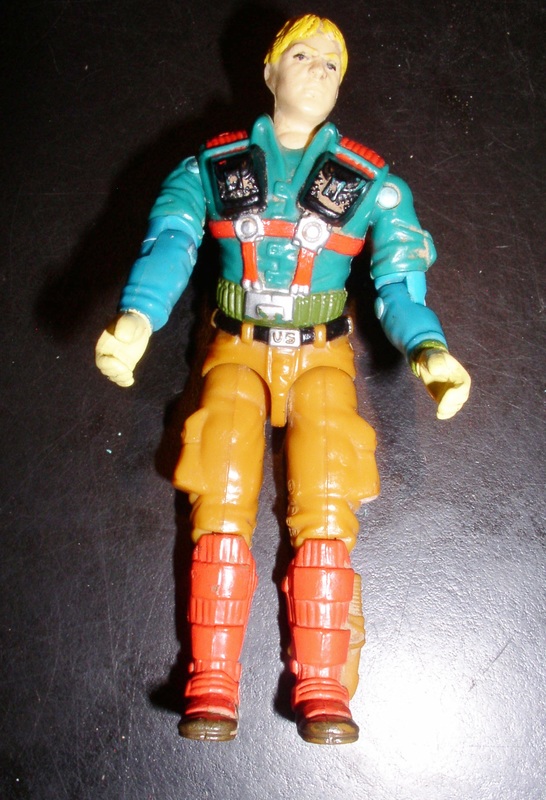
Carefully insert the front body section into place and hold it firmly together with your fingers, then flip it over and reinstall the Phillips Screw. Your Joe figure is now ready to go into action!

 RSS Feed